Home / Chalking, Fading and Touch-Up of Dark Gate Finishes
Chalking, Fading and Touch-Up of Dark Gate Finishes
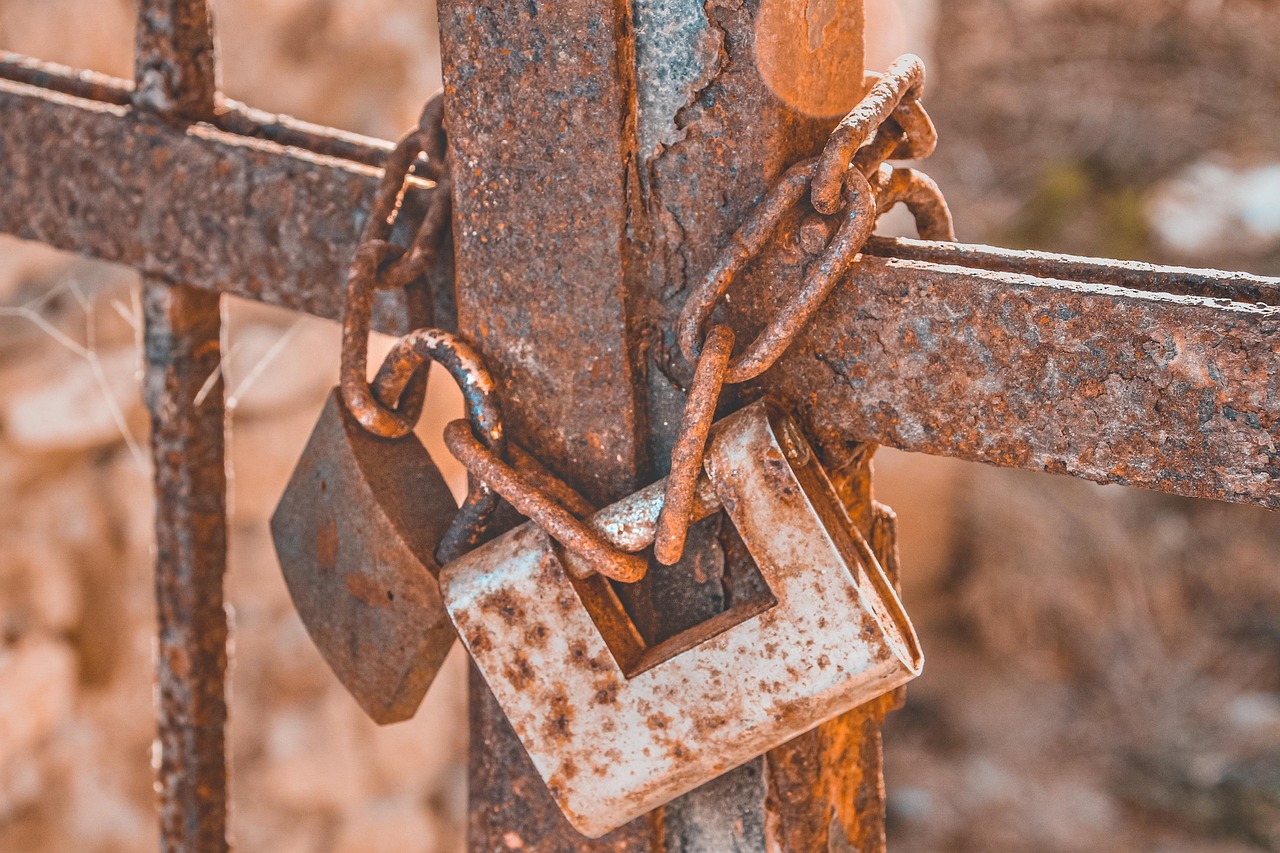
A dark gate that turns dusty gray under a fingertip is chalking, and chalking is the surface layer of the finish breaking down in sunlight. The condition looks worse than it is when caught early, because a sound film usually remains underneath, and a careful cleaning and polish can restore much of the color. Left alone for years, the same gate loses its film entirely and needs to be stripped and recoated.
Dark colors show these changes more than light ones. Black, deep bronze, charcoal and dark brown absorb the most sunlight and heat, and any pale dust that forms on them stands out sharply. Knowing what the signs mean, and what can and cannot be fixed, keeps an owner from either ignoring a warning or overreacting to a cosmetic change.
What chalking is
Every coating contains pigment held in a resin binder. Ultraviolet light slowly attacks the binder at the surface. As the binder degrades, pigment particles and filler are released and sit loose on top of the film. This is the powdery residue that wipes off on a cloth or fingertip. On a dark gate, the residue looks gray or whitish because the filler and titanium dioxide in the film are pale, even when the pigment itself is black.
Chalking is a normal stage of aging, not a defect that appears only in bad coatings. Better coatings chalk more slowly, and the amount of chalk on a given gate depends on the resin, the color, the sun exposure and the age. A quick test is to wipe a clean, damp cloth across a small area. If color or pale powder comes off, the surface is chalking.
What fading looks like
Fading is a change in color without any loss of film. Pigments absorb light and, over time, some of them break down or change. Reds, oranges and yellows fade fastest, while blacks and some blues and greens hold longer. A dark bronze may drift toward a lighter brown, and a black may turn to a washed-out gray.
Chalking and fading often occur together, which makes it hard to tell them apart. A useful comparison is to look at a hidden area, such as the side of a picket facing a post or the underside of a bracket, where sun never reached. The difference between that spot and the exposed surface shows the full amount of change.
Cleaning before judging
Dirt, pollen, mineral deposits from irrigation water and airborne dust give a dull look that is not chalking at all. A thorough wash often restores more shine than expected and gives a true view of the film.
The method is simple. Use a bucket of warm water with a mild detergent, a soft cloth or sponge and a garden hose. Work from top to bottom, rinsing as the dirt loosens. Avoid abrasive scrubbers, stiff brushes, strong solvents and pressure washers held close to the surface, since they can scratch or strip a weathered film. After rinsing, let the gate dry fully in the shade, and then assess the finish.
Polishing and refreshing
If the film is intact but chalky, polishing can help. A mild polish made for painted or powder-coated surfaces, such as an automotive finishing compound, removes the loose layer and brings up the color beneath. It should be applied by hand with a soft cloth, in small sections, with light pressure. Over-polishing a thin film can wear through it, so a gentle approach is wise, and a test on an inconspicuous spot comes first.
After polishing, a coat of non-abrasive wax or a clear protective sealant made for the finish adds a sacrificial layer. The wax absorbs part of the ultraviolet dose and makes later cleaning easier. In strong sun it should be renewed every few months.
The improvement from this routine is real but temporary, since the underlying film continues to age. Treat it as maintenance that slows aging and not as a cure.
When touch-up paint makes sense
Touch-up paint suits small, local damage such as chips, scratches and spots where the film has worn through. It does not suit large areas of fading, where a new patch would show as a different shade.
- Clean the spot and let it dry.
- Remove loose paint and any rust with a fine abrasive pad or small file until sound edges and bright metal show.
- Wipe away dust with a clean cloth.
- Apply a thin coat of rust-inhibiting primer to bare metal and let it dry.
- Apply color in thin coats, allowing each to dry, until the area is covered and level with the surrounding finish.
Matching color is the hard part. Original paint has aged, so fresh paint of the same code often looks a little darker or glossier. Applying the touch-up in small amounts and feathering the edges helps it blend. A satin or low-gloss touch-up on an aged finish usually disappears better than a gloss one.
When a full recoat is the right answer
Some signs say that cleaning and polishing will not be enough.
- The surface feels rough, and primer or bare metal shows through in patches.
- Paint is lifting, peeling or cracking in sheets or at welds.
- Rust is forming under the film in several places.
- Fading is uneven, with large, obvious differences between faces of the gate.
At that point the correct response is to prepare the entire surface and recoat. The old finish is cleaned and sanded to give the new coat a grip, loose and failing areas are removed down to sound edges, rust is treated, bare metal is primed, and a new topcoat is applied across the whole gate. Doing the full gate avoids a patchwork look and protects the metal evenly.
Powder-coated gates generally need to be stripped and recoated by a shop, though a well-bonded old powder coat can sometimes be scuffed and repainted with a compatible liquid system for a refresh.
Slowing the cycle
A few habits keep dark finishes looking better for longer. Wash the gate a couple of times a year. Wax it in spring and again in early fall. Provide shade if possible, since even partial shade lowers surface temperature and ultraviolet dose. When repainting, consider a color one step lighter or a satin sheen, which hide chalking and fading more gracefully than deep black with a high gloss.
Record the paint code, the brand and the date of each coat in a notebook kept with the operator manual. That small record makes every future touch-up simpler and gives a clear view of how long the finish tends to last on that particular gate and site.